
Contact Info
2nd Floor, House-42, Road-20, Sector-11, Uttara, Dhaka-1230
+8801711-286015
info@tishost.com

cPanel Hosting
325
Jul 23,2019
How to use cPanel Calendars and Contacts Client
This article provides instructions for synchronizing cPanel Calendar & Contacts using CardDAV and CalDAV on your Apple devices.
CardDAV is an address book client/server protocol designed to allow users to access and share contact data on a server. CalDAV is an Internet standard allowing to access scheduling information on a remote server. It’s a calendaring and scheduling client/server protocol designed to allow users to access calendar data on a server.
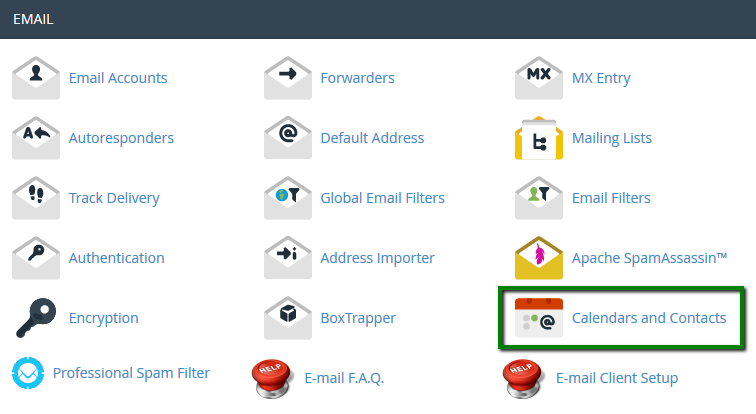
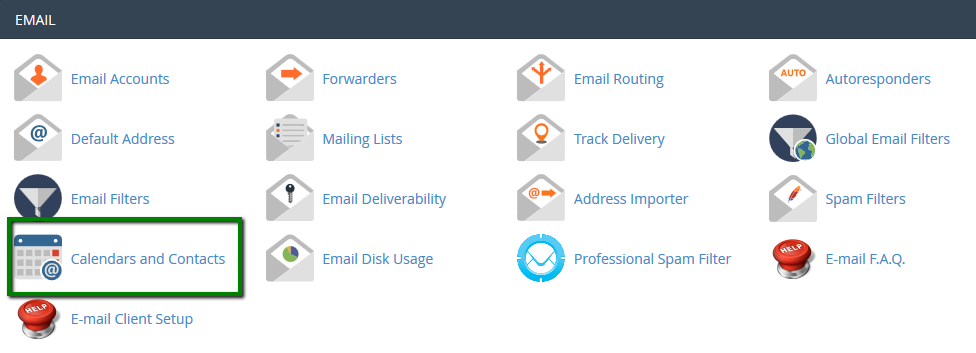
With CalDAV and CardDAV, cPanel account users and Webmail users can access their calendars and contacts remotely with third-party applications, in our case, using OS X and iOS devices. The Calendars and Contacts Client Configuration menu is located in the cPanel account interface under Mail section.
for cPanel paper_lantern theme:
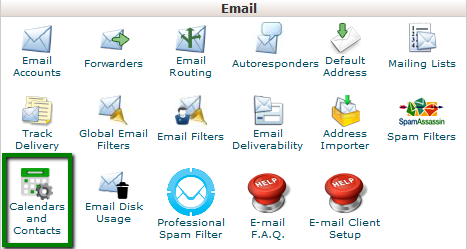
for cPanel Retro theme:
Calendars and Contacts setup on iOS 8.X
- How to set up your contacts
- How to set up contacts for a single email address
- How to set up your calendars
- How to set up calendars for a single email address
Calendars and Contacts setup on OS X El Capitan
- How to set up your contacts
- How to set up contacts for a single email address
- How to set up your calendars
- How to set up calendars for a single email address
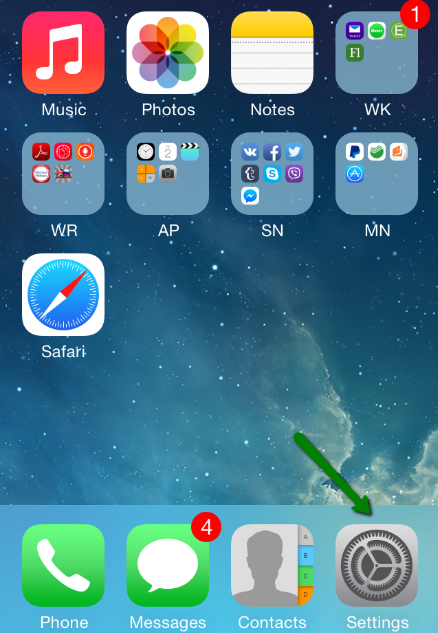
In order to configure Contacts and Calendars synchronization on your iPhone, you will need to follow the steps below:
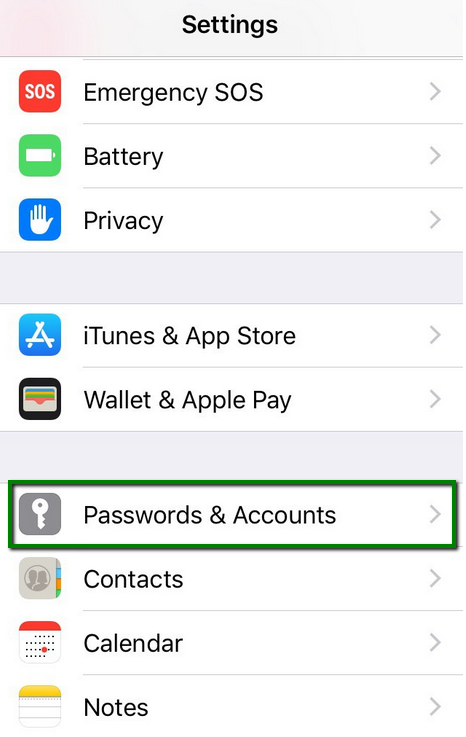
1. Select Settings from the home screen of your iPhone:
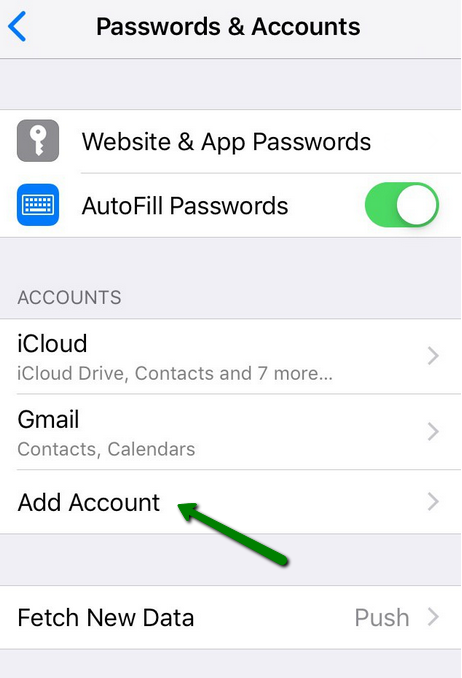
2. Choose Passwords and Accounts:
3. Click Add Account:
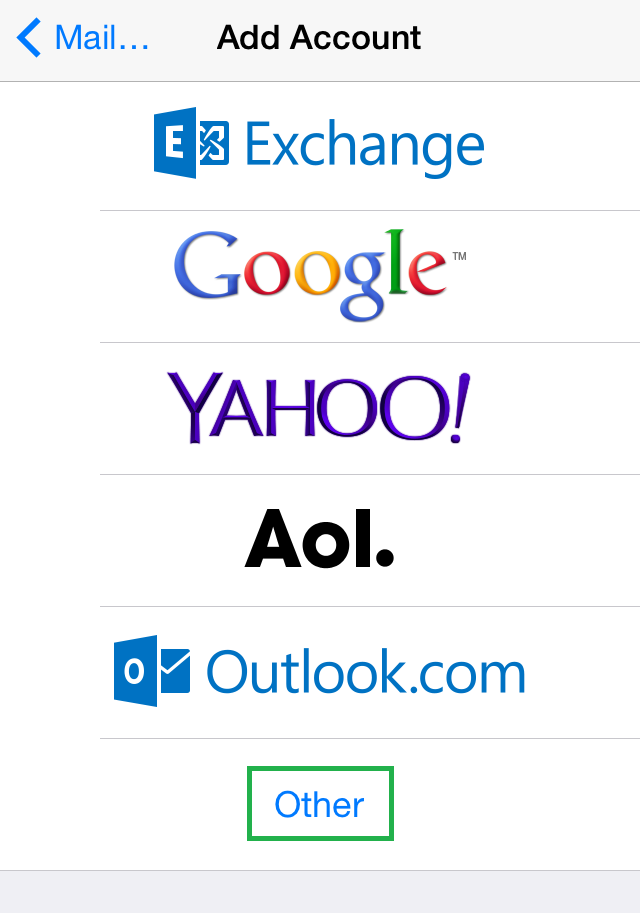
4. Choose Other from the list that appears:
How to set up your contacts:
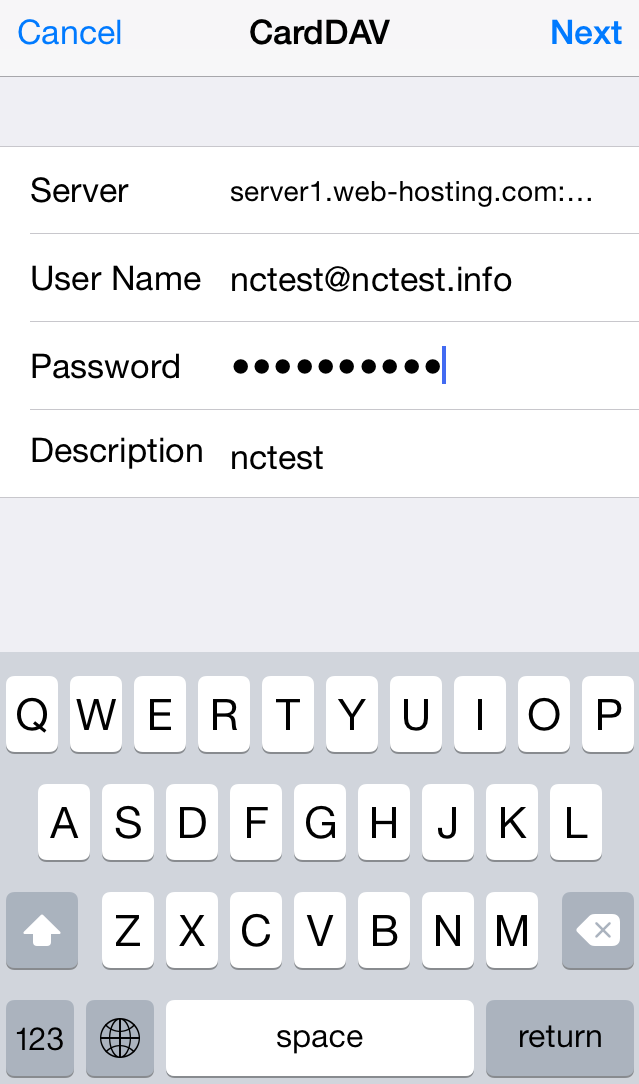
To set up contacts on iPhone, select Add CardDAV Account. In the CardDAV menu, you will need to specify the following settings:
Server: server your account is hosted on and port 2080 (e.g., server1.web-hosting.com:2080)
User Name: your cPanel user name
Password: your cPanel password
Description: specify any description you wish (e.g., My Contacts)
NOTE: You can find your CardDAV configuration settings within the Calendars and Contacts Client Configuration interface of your cPanel account.
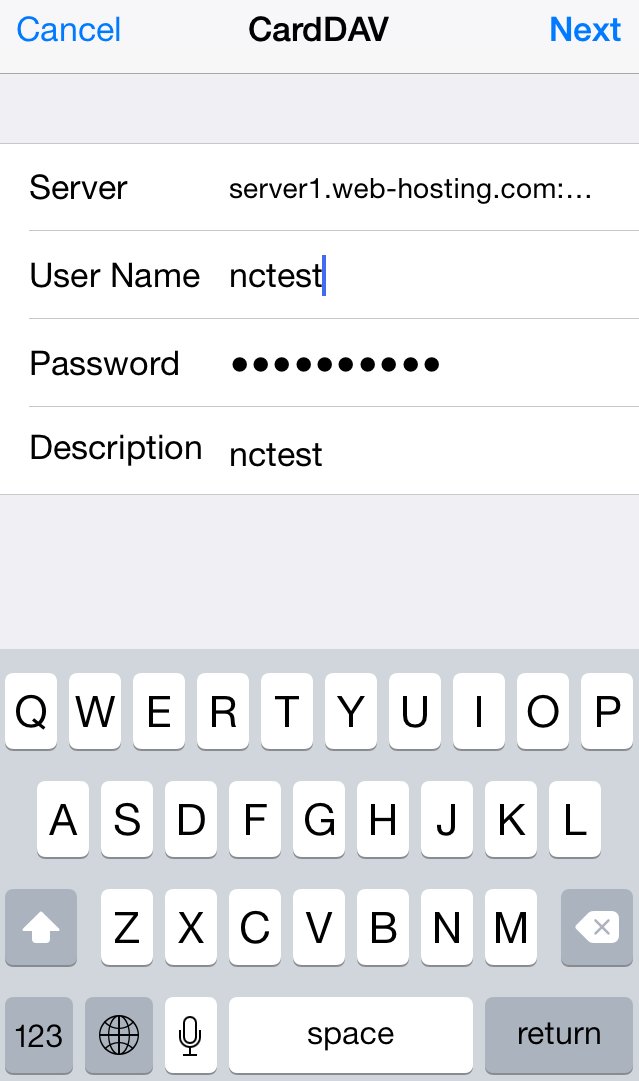
After that, click on Next.
Once done, the cPanel address book will be synchronized with your iPhone address book.
To set up contacts for a single email address, you will need to specify the following settings:
Server: server your account is hosted on and port 2080 (e.g., server1.web-hosting.com:2080)
User Name: your full email address that was created in your cPanel > Email Accounts menu
Password: password for this email address
Description: lets you specify any description (e.g., My Contacts)
Click on Next.
How to set up your calendars:
Follow the steps below to set up contacts on iPhone:
1. Select Add CalDAV Account.
2. In the CalDAV menu, you will need to specify the following settings:
Server: server your account is hosted on and port 2080 (e.g., server1.web-hosting.com:2080)
User Name: your cPanel user name
Password: your cPanel password
Description: specify any description you wish (e.g., My Contacts)
NOTE: You can find your CalDAV setup information within the Calendars and Contacts Client Configuration interface of your cPanel account.
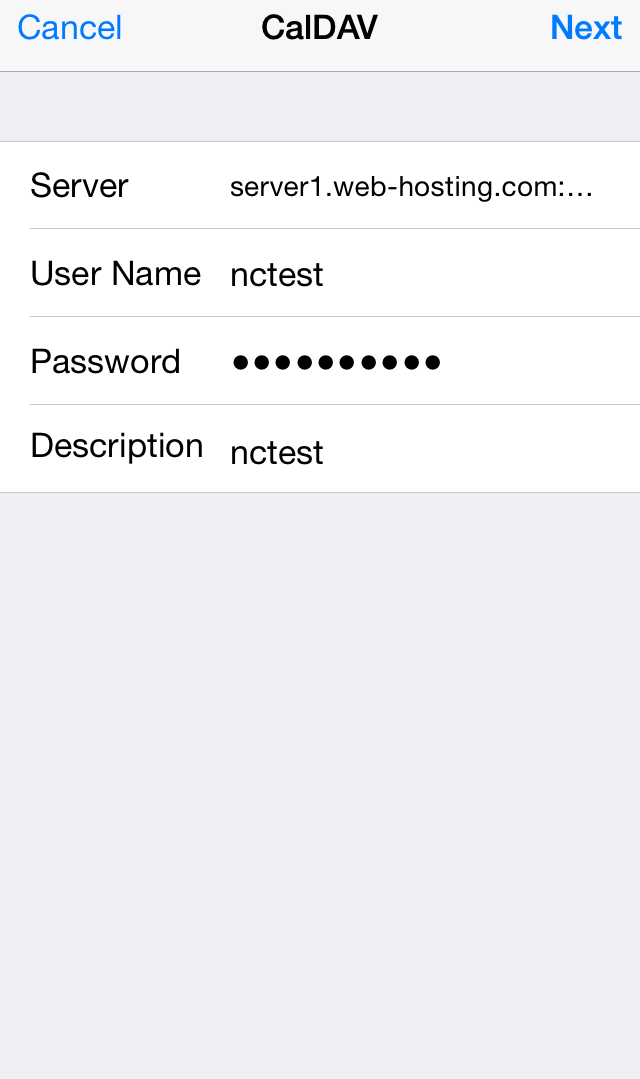
3. Click on Next.
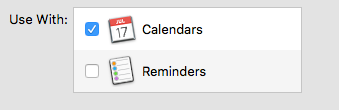
4. Choose what exactly you would like to use CalDAV with:
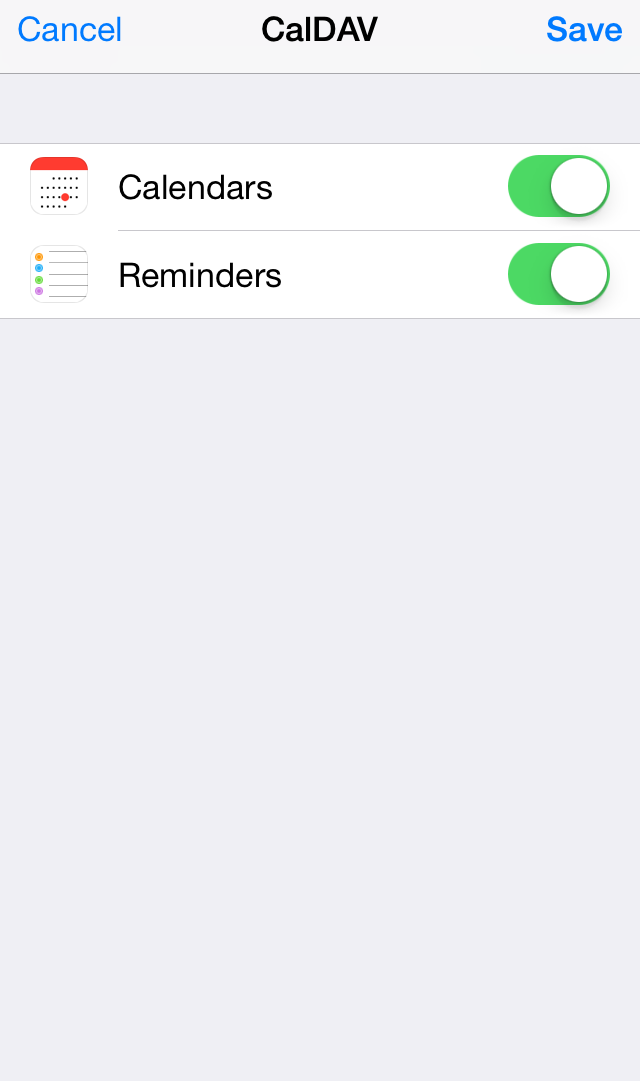
5. Click on Save.
Once done, the cPanel calendar will be synchronized with the calendar on your iPhone.
To set up calendars for a single email address, you will need to specify the following settings:
Server: server your account is hosted on and port 2080 (e.g., server1.web-hosting.com:2080)
User Name: your full email address that was created in your cPanel > Email Accounts menu
Password: password for this email address
Description: specify any description you wish (e.g., My Contacts)

Click on Next, choose what exactly you would like to use CalDAV with and click on Save.
Calendars and Contacts setup on OS X El Capitan
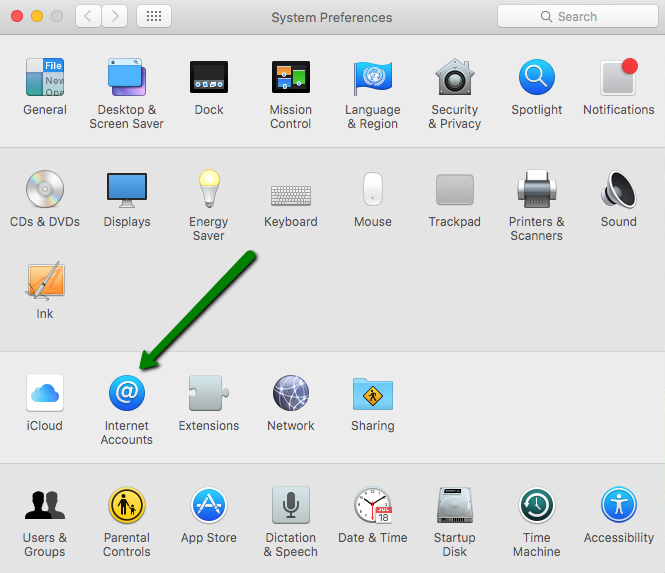
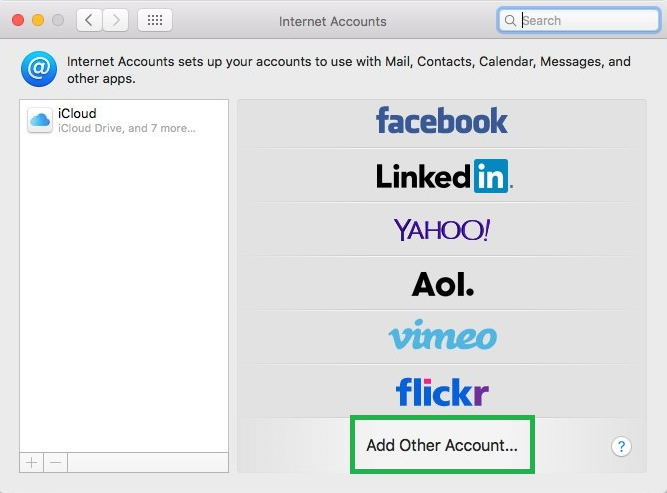
1. Click System Preferences >> Internet Accounts:
2. Click Add Other Account...:
How to set up contacts:
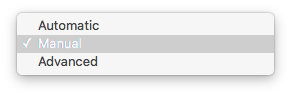
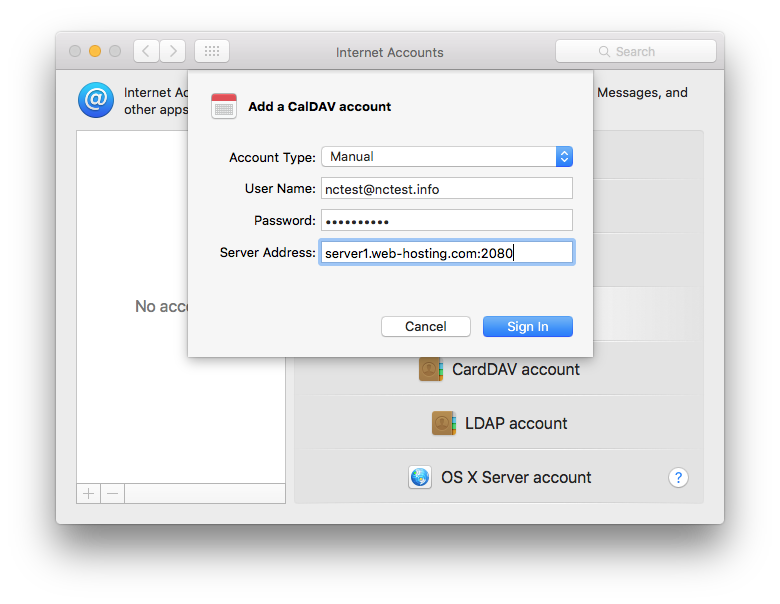
1. Select Add a CardDAV account and click Create.... Use the menu to select Manual:
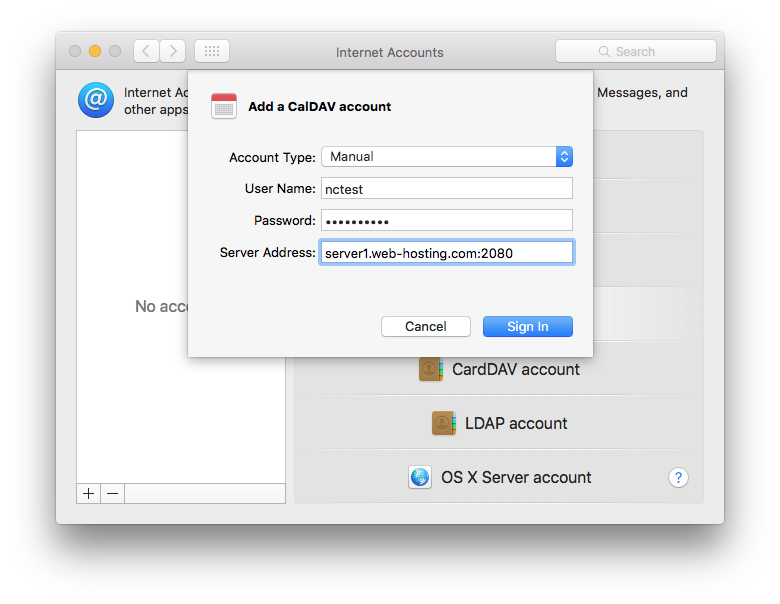
2. Enter your cPanel account CardDAV information:
Account Type: manual
User Name: your cPanel username
Password: password for your cPanel account
Server Address: server your account is hosted on and port 2080 (e.g., server1.web-hosting.com:2080)

3. Click Sign In.
Once done, cPanel contacts will be added to the address book on your device.
To set up contacts for a single email address, you will need to specify the following records:
Account Type: manual
User Name: your full email address that was created in your cPanel > Email Accounts menu
Password: password for this email account
Server Address: server your account is hosted on and port 2080 (e.g., server1.web-hosting.com:2080)

Click Sign In.
How to set up your calendars
1. Select Add a CalDAV account and click Create.... Use the menu to select Manual:

2. Enter your cPanel account CalDAV information:
Account Type: manual
User Name: your cPanel username
Password: password for your cPanel account
Server Address: server your account is hosted on and port 2080(e.g., server1.web-hosting.com:2080)
3. Click Sign In.
4. Choose what exactly you would like to use CalDAV with and click Save:
Once done, the cPanel calendar will be synchronized with the calendar on your device.
To set up calendars for a single email address, specify these settings:
Account Type: manual
User Name: your full email address that was created in your cPanel > Email Accounts menu
Password: password for this email account
Server Address: server your account is hosted on and port 2080 (e.g., server1.web-hosting.com:2080)
Click Sign In, choose what exactly you would like to use CalDAV with and click Save.
That's it!
"Our guide will help you understand the underlying principles of WordPress optimization"
Rasalina Willamson
Ut enim ad minima veniam, quis nostrum exercitationem ullam corporis suscipit laboriosam, nisi ut aliquid ex ea commodi consequatur Quis autem vel eum iure reprehenderit qui in ea voluptate velit esse quam nihil molestiae
Share this Post
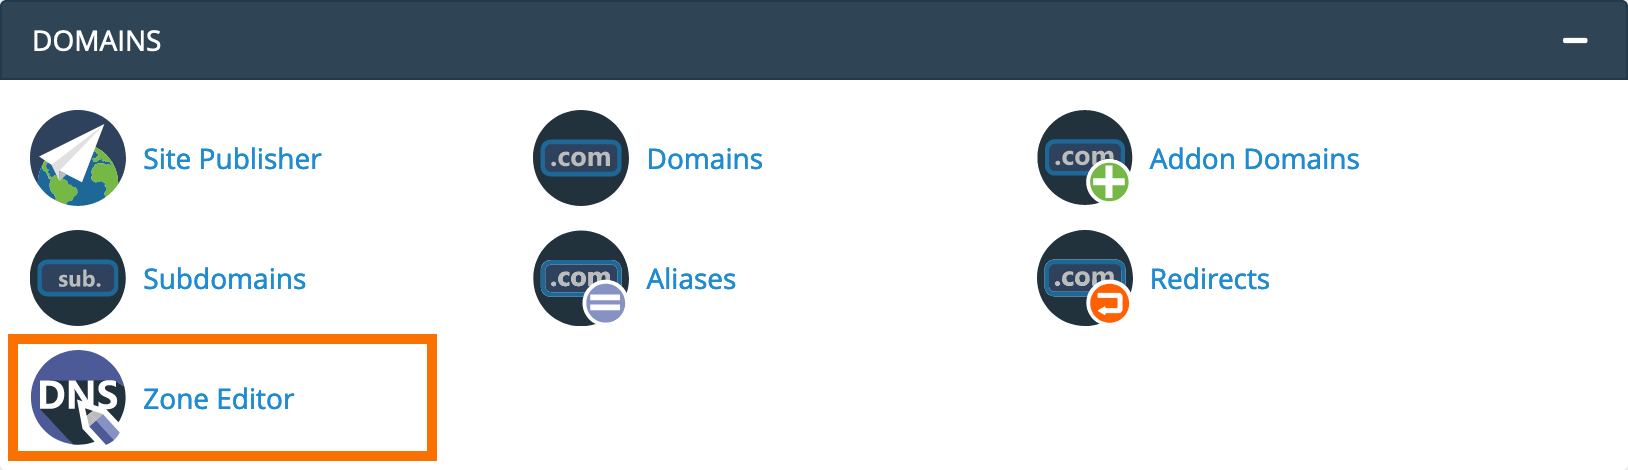
How to edit DNS zone in cPanel
By TisHost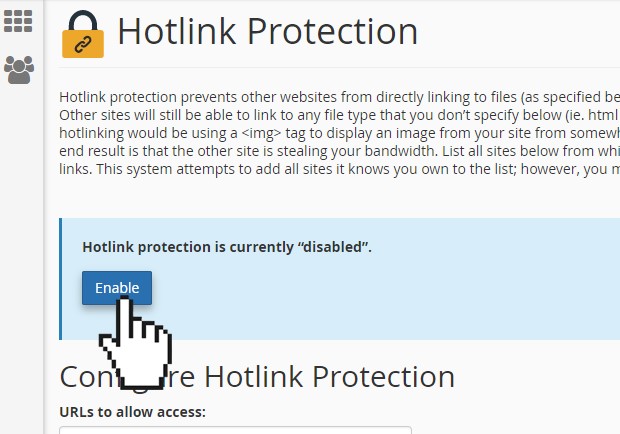
How to set up hotlink protection
By TisHostRecent News
-

-

How to Create Addon Domain1
By TisHost -

How to add custom error pages1
By TisHost -

How to use File Manager in cPanel1
By TisHost -


Trusted By
900+
Client World wide
24x7x365
Professional Technical Support
Providing Cloud
Services
Since 2008
Network Uptime
99.9%
Server Uptime